Made with Organic Extra Virgin Coconut Oil, Organic Cocoa Butter and more…
Ingredients
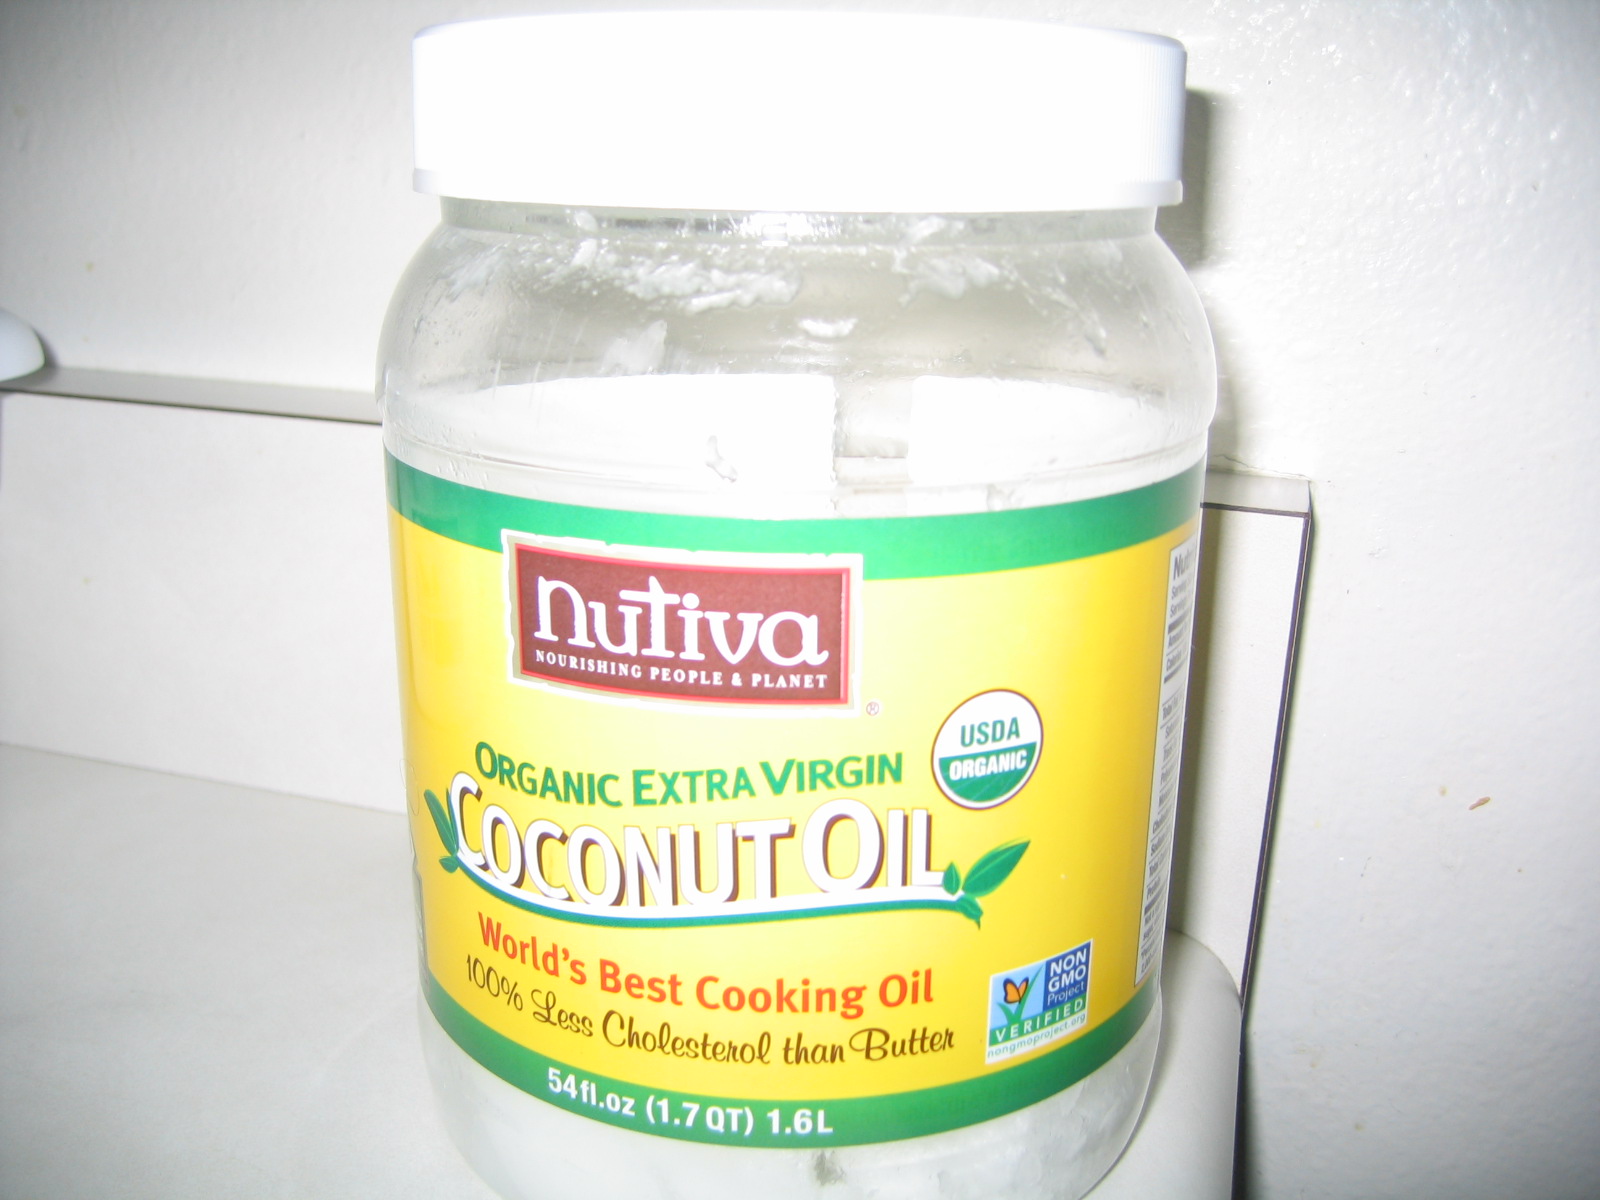
111.15 oz. Organic Extra Virgin Unrefined Coconut Oil
42.50 oz. Distilled Water
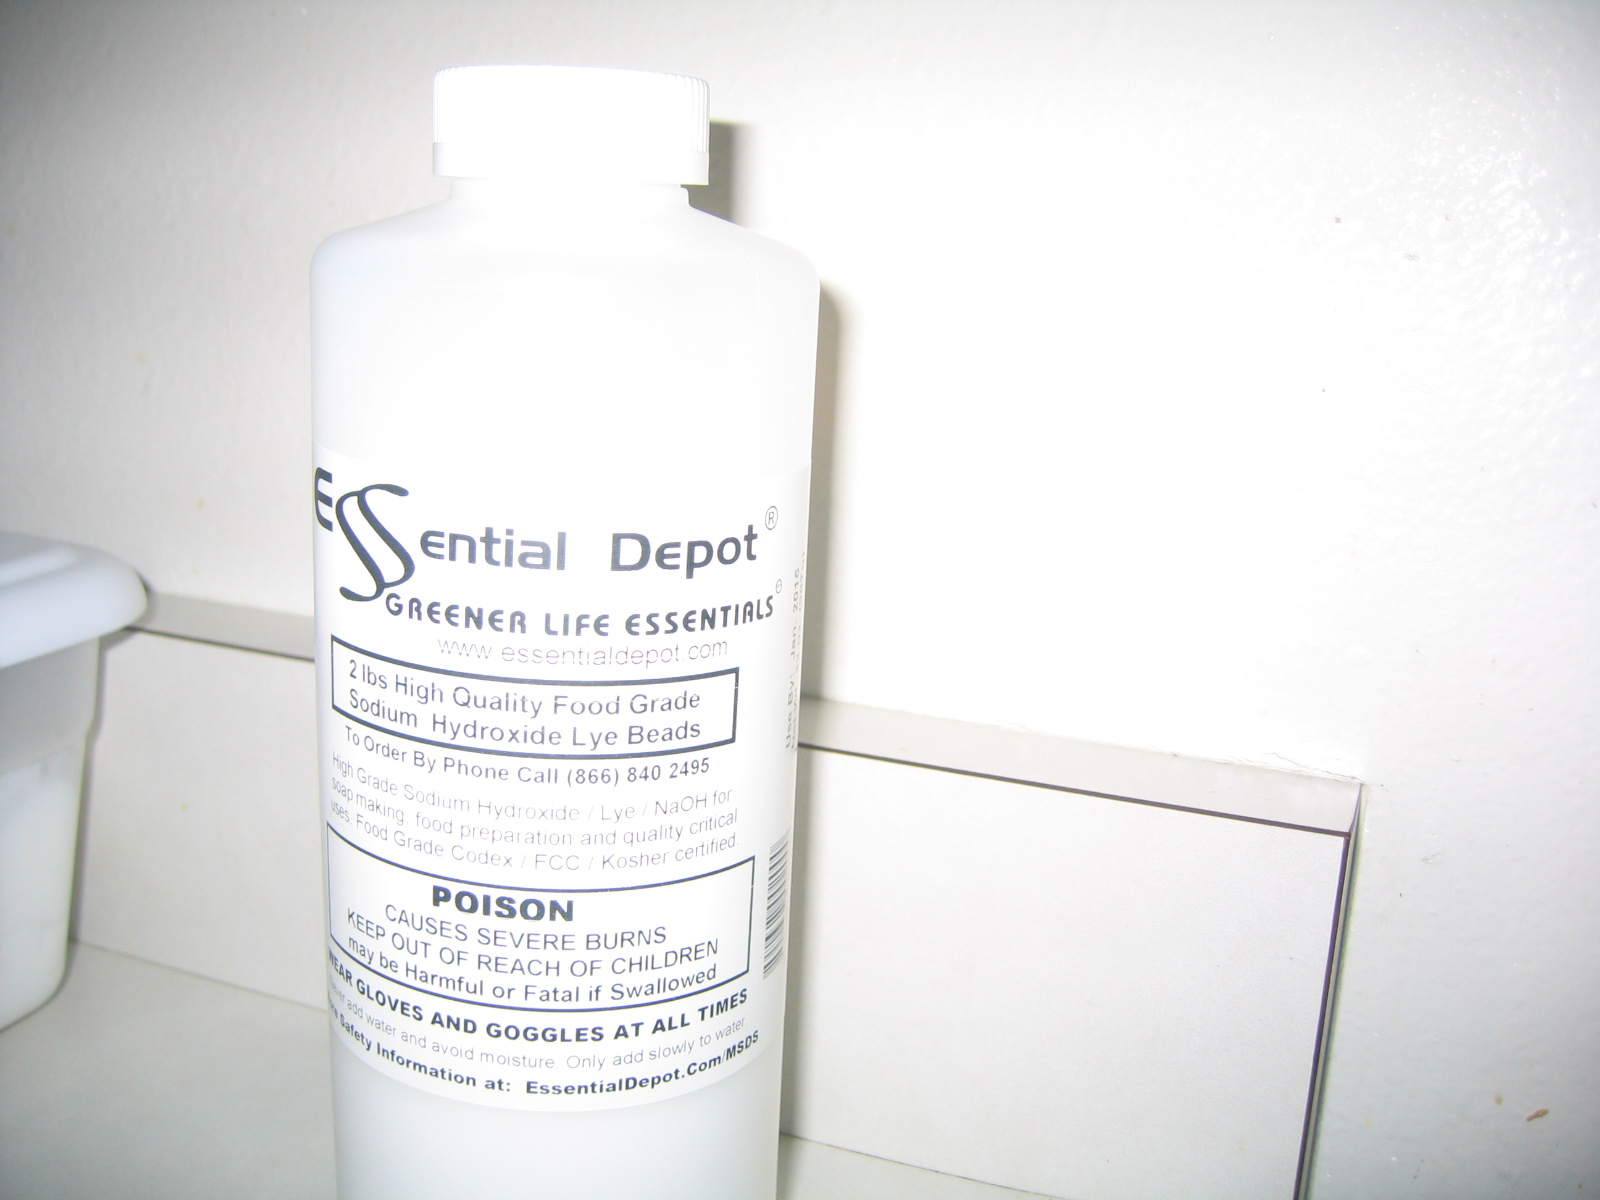
19.50 oz. Food Grade Sodium Hydroxide
5 oz. Organic Unrefined cocoa butter
1.95 oz. Dry Goat Milk
1.60 oz. Raw Local Honey
1.15 oz. Organic cocoa butter to super fat
Lye Discount 5% excluding the super fat oil. If included, the total lye discount is 8%.
Preparation:
Step 1: Wear safety glasses, gloves, and shoes and of course clothes.
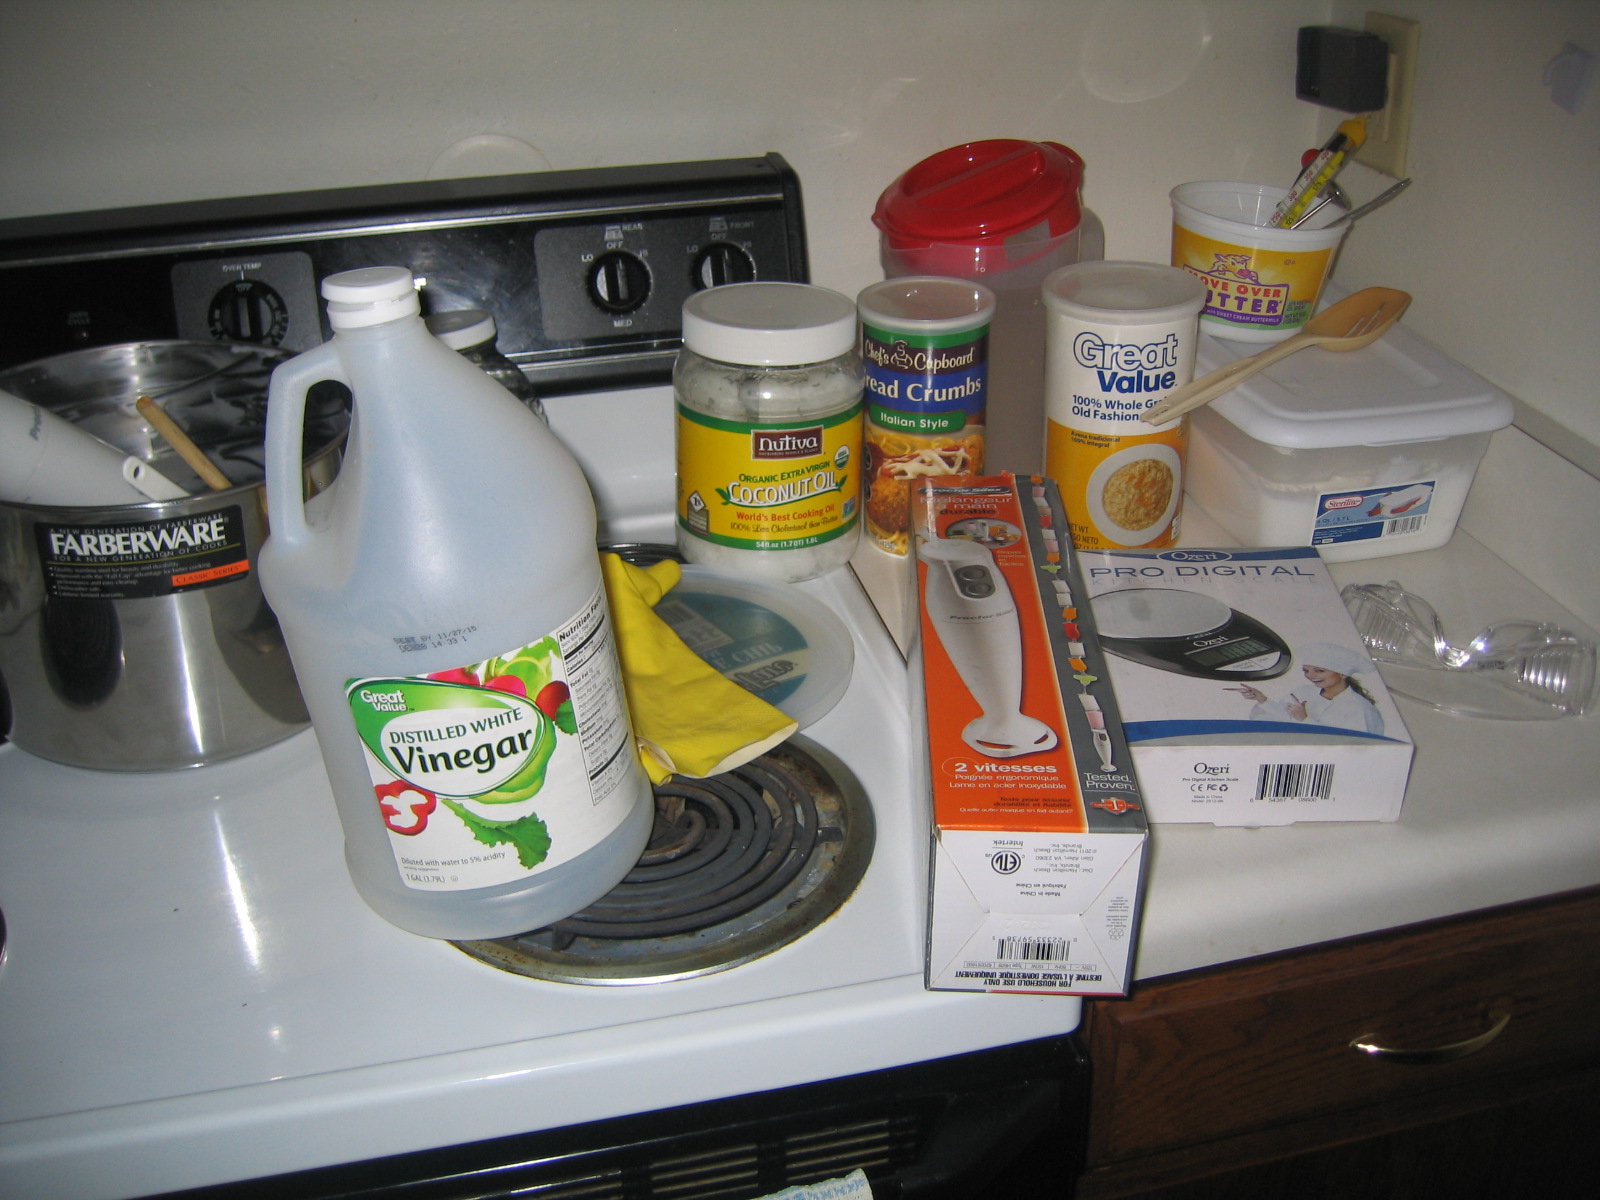
Step2: Have vinegar on hand
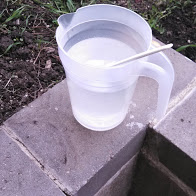
Step3: Weight the distilled water. First weight the container or the cup. Press tare to zero the scale and pour the distilled water in the cup.
Step4: Weight the Sodium Hydroxide
Step5: Set the distilled water on the stove with the fan on or in the sink near the window or outside out of kids and pets reach.
Step6: With caution, pour the Sodium Hydroxide in the water as you stir. Hold your breath for 30sec to avoid inhaling the fume that will come from the lye solution. Stir for 30 seconds.
NB: Do NOT add water to the Sodium Hydroxide. You will produce a small volcano in your kitchen.
Step7: After 2 min, return to stir the lye solution again to avoid lye clumps at the bottom of the distilled water.
NB: Place the lye solution near a widow or outside, stand away from the wind direction to avoid breathing the fume from the lye solution.
Step 8: Weight the coconut oil and pour in the pan. If possible, weight directly in the soap pan.
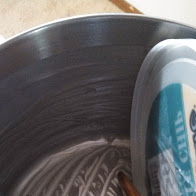
NB: Make the soap in a stainless steel pan (minimum 8Qt for this recipe). The deeper is the pan, the better it is to avoid splatter.
Do NOT use aluminum pan. The lye will eat it.
Step9: Set on the stove at low heat.
Step 10: Weight the cocoa butter (1.15 Oz). Add it to the soap pan.
NB: Avoid weighting all the oils together on the scale. Weight them separately for more accuracy.
Step 11: Weight Cocoa Butter (5 OZ). Set aside.
Step 12: Stir the lye solution. Let it cool. If working inside, set the lye solution in the kitchen sink filled with cold water.
NB: Do NOT use the same spoon or spatula to stir the lye solution and the oils. Use silicone spatulas in each one of them or silicone spatula in the lye solution and wood spatula in the oils.
Step13: Stir the Coconut Oil and Cocoa Butter in the soap pan. As 2/3 is melted, turn the heat off and let the warm oils melt the rest.
NB: Avoid applying excessive heat to your oils. They are quality oils minimally processed and full of nutrients and skin properties that you want in your soap.
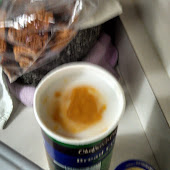
Step 14: Boil water in a small pan. Turn the heat off. Set the 5 OZ Cocoa Butter in the pan to melt it. Use a bowl (glass by preference) big enough to melt the butter.
Step 15: Remove the butter from the hot water when almost melted. Stir to melt it completely.
Step 16: Stir the oils and the lye solution times to times.
Step 17: Use two different thermometers, measure the temperature of both the lye solution and the oils in the soap pan. The target temperature range is 85 degree F to 100 degree F. The both don’t have to be at the same temperature but they need to fall within that range.
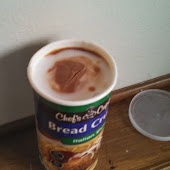
Step 18: Weight the dry milk. Add it to the 5 Oz Cocoa Butter. Stir very well.
NB: If using liquid milk, add the milk to the oils in the soap pan right before the lye solution is added to the pan. Also, when weighting the distilled water, reduce the weight by the same weight of the liquid milk.
Some soap makers add the milk to very cold distilled water when making the lye solution. For my experience, the milk still burns. I use the milk in my soap for a reason. The least burnt it is the better. When dry milk is added to the mixture at the end, the milk turns the soap into a caramel color 2 to 3 hours after it is poured in the mold during the gel phase.
Step 19: When both the oils in the pan and the lye solution reach the same temperature range, rinse the thermometers with vinegar –water solution, wash them and set to dry as well as the spatula used to stir the lye and the container the lye was weighted in.
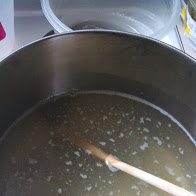
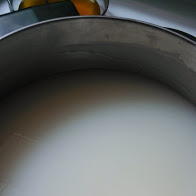
Step 20: In low stream, pour the lye solution in the soap pan while stirring the mixture in the pan.
Step21: Grab a whisk and stir for 2min.
Step 22: similarly to the thermometer, neutralize the lye in the cup, wash it and set to dry.
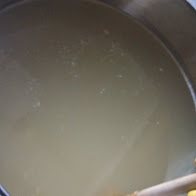
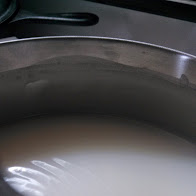
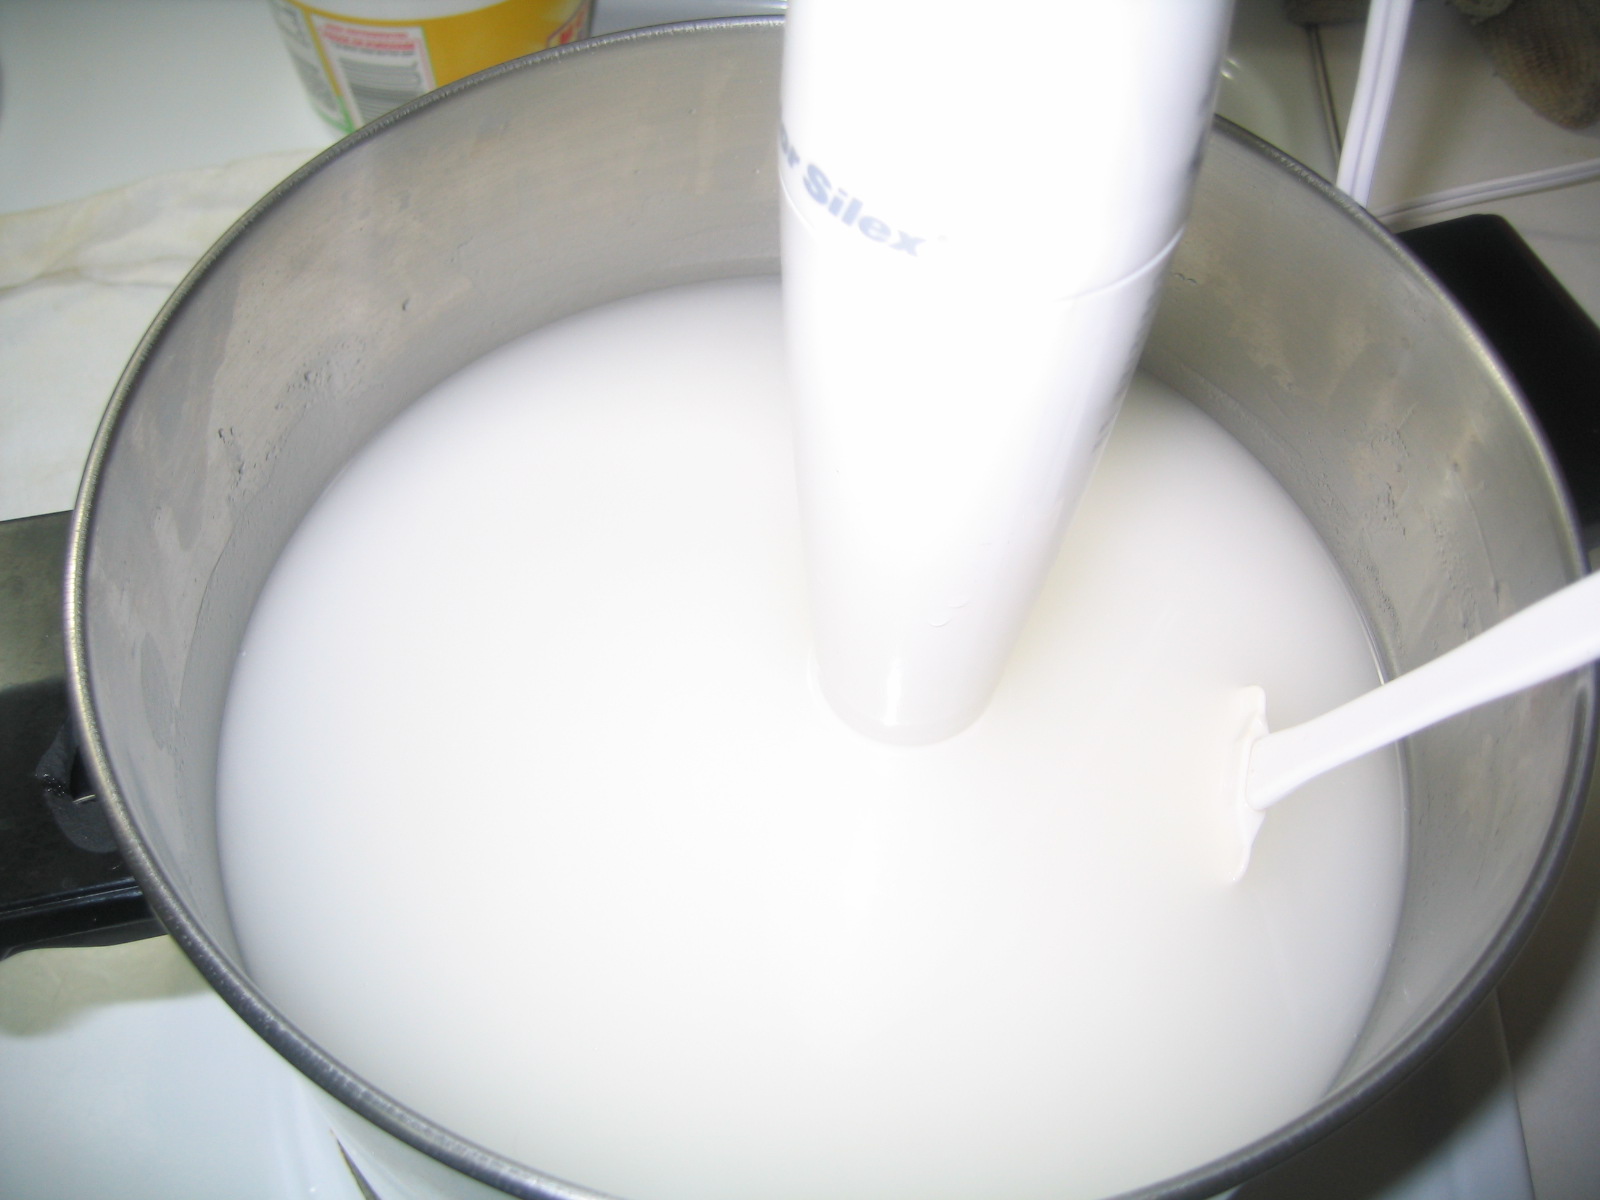
Step 23: Use a hand blender to blend the soap in the pan at low setting.
Step 24: Blend for 30 sec and whisk for 3min. then blend for 30sec again. Alternate blending and whisking the soap mixture.
Step25: You can take a short break between. It should be fine.
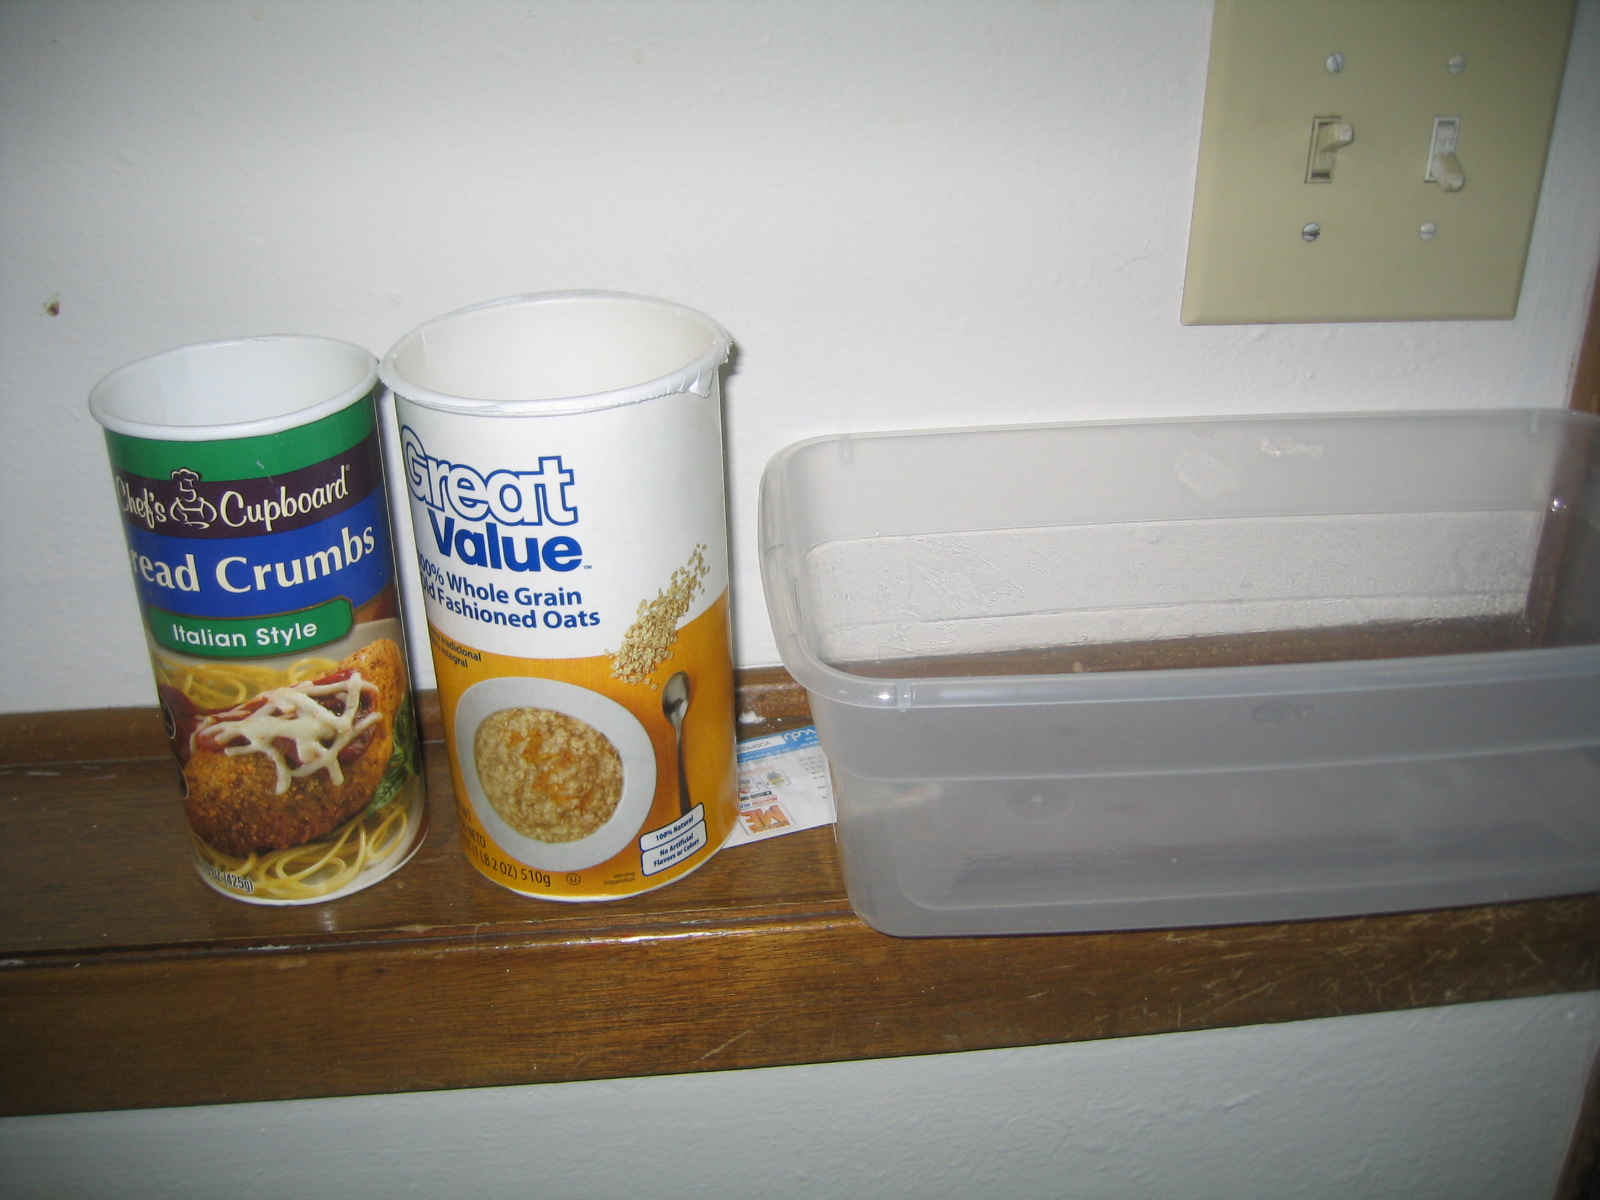
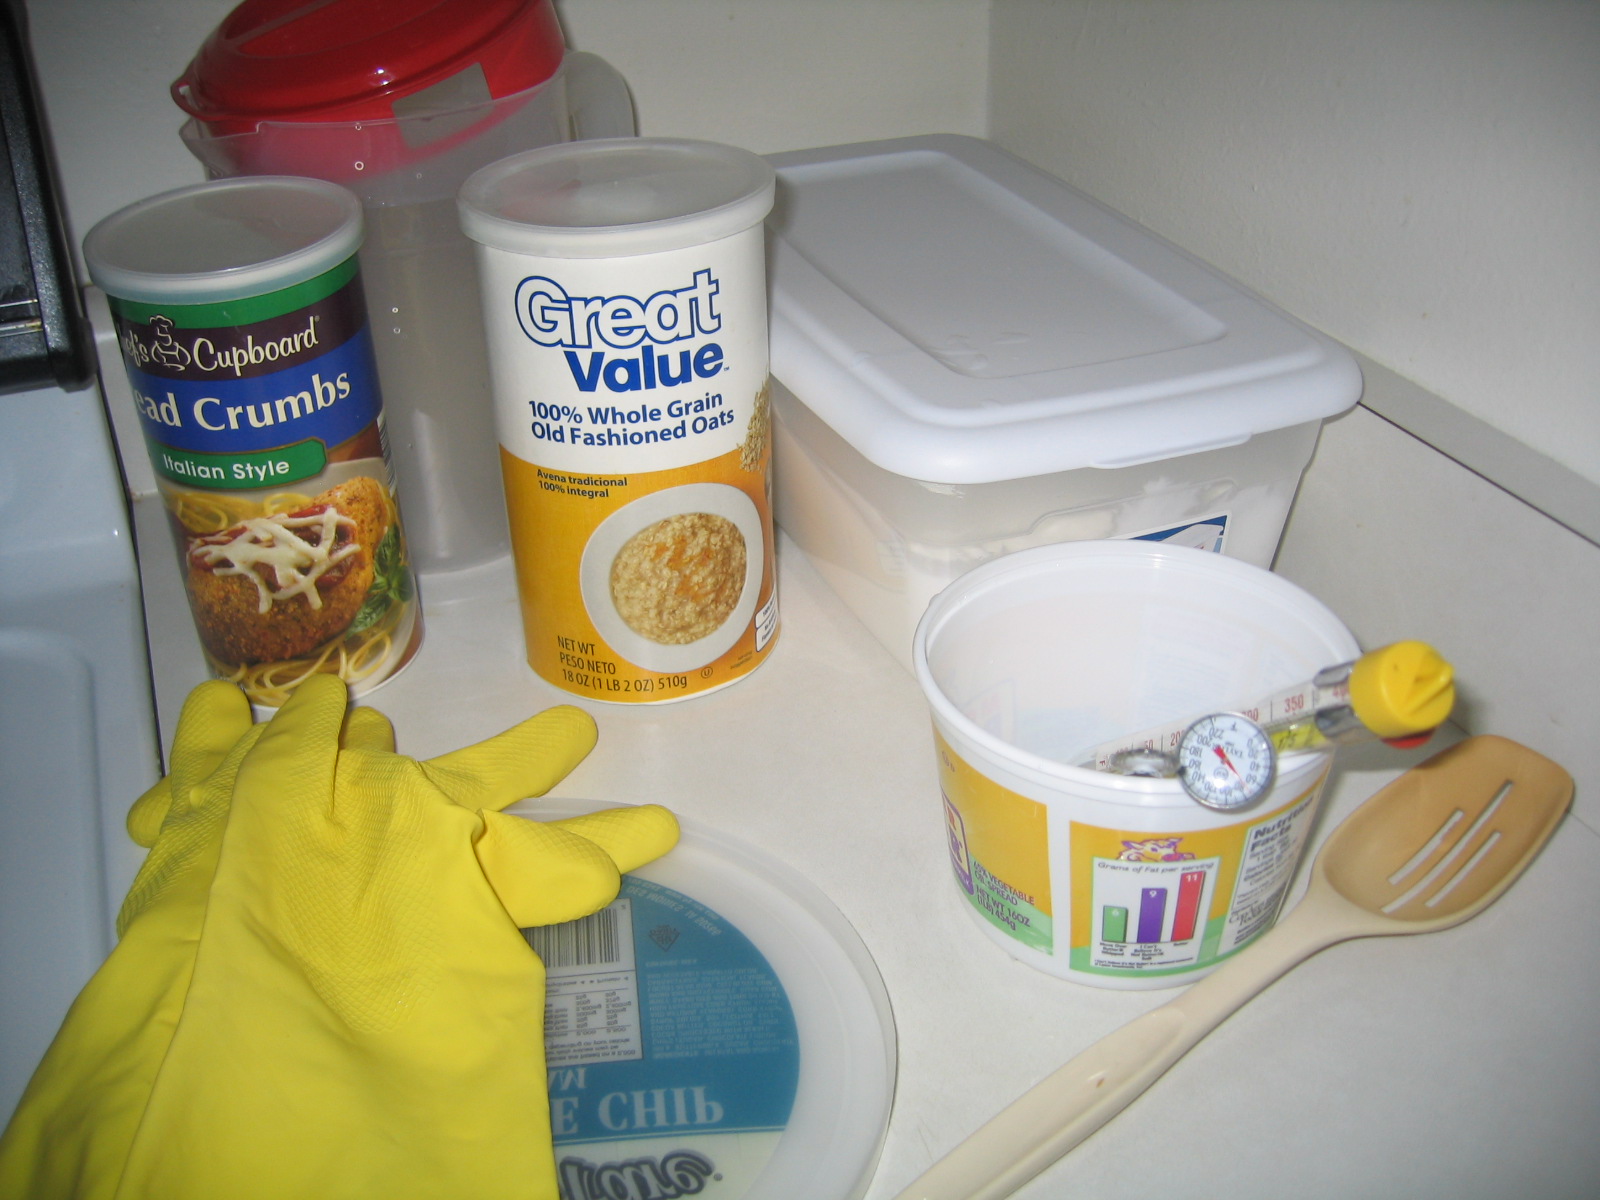
Step 26: Prepare the mold. Line plastic and carton molds with plastic or freezer paper. If recycling oat meal box, grit box or milk box, no lining is needed. This recipe will produce about 183.35 OZ (11.46 Lbs.) of Soap. Therefore choose your mold accordingly.
Step 27: 30min after the lye was added to the oils; the soap will thicken up and reach a lite trace.
NB: Since the ingredients are high in coconut oil, it could take 1hr to reach trace.
A trace is a stage where stirring the soap mixture leaves trace or waves, or dent on top of the soap mixture for few seconds. Aim for medium trace to avoid the soap mixture separating in the mold into lye and oils.
Step28: At medium trace, you can either pour the milk mixture in the pan and blend it for 30sec or use it as directed below.
Step29: Add 1/3 of soap mixture to the milk mixture. Stir to incorporate.
Step 30: Pour the soap mixture in the oatmeal box to 1/3 of the box height.
Step31: Add ¼ cup of few tbsp. of the milk mixture to the box. Add same ¼ cup of tbsp. of the soap mixture. Alternate both until you finish with the soap mixture on top leaving one inch space on top of the box.

Step 32: Cover the box with its cover and set aside on the counter out of kids reach and undisturbed.
Step 33: For the remaining soap, repeat the process with another mold. In case you ran out of milk mixture, just pour the remaining soap in a mold. Remember, the soap mixture is 5% lye discounted. Even without the milk-cocoa butter mixture, the soap mixture is NOT lye heavy.
Step34: Add the utensils and bowls used in the soap preparation to the pan. Set under the kitchen cabinet or above the top cabinets for at least 3 days before cleaning them. Inside of them will be covered with soap that can be used for their cleaning. Wear gloves to clean them or let them sit for 3 weeks before cleaning.
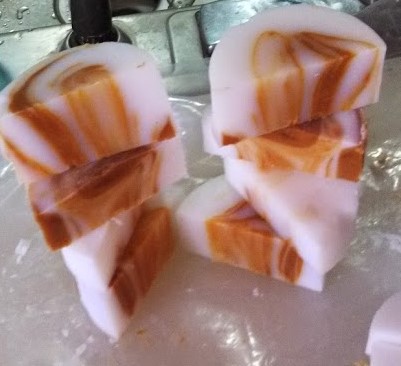
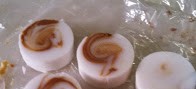
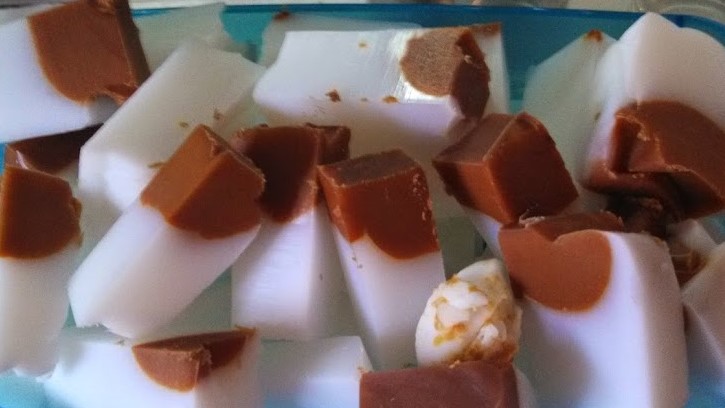
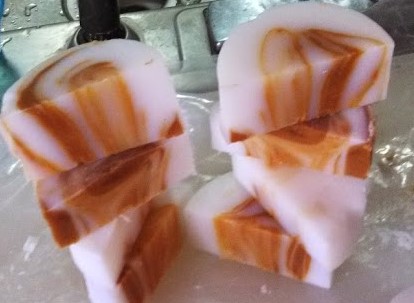
Step35: You can pick on soap in the mold if the cover is transparent as the soap undergoes the gel phase. The caramel color will start from the middle as the soap forms a hill at the middle and the color will expand to the edges of the box. After the saponification process, the top of the soap will even up. It is pretty amazing to see the different phases the soap mixture goes thought before turning into hard soap.
Step 36: After 8hrs, open the box and tap the soap to check the firmness. If firm, remove from the box (tear the oat meal box) and cut into bars with a knife on a clean surface. If it still soft, let it in a box for 5 more hours. Coconut oil produces very hard soap that is ready to be cut after 8hrs. If you wait too long, it will be hard to cut the soap block into bars.
NB: Generally, the soap needs to be in the mold for 24hrs before you remove it.
Step 37: Cure the soap bars on a stainless rack or in a cartoon box for at least 3 weeks. Every week turn the soap bars to expose all the sides.
Step38: After 6 weeks, store the bars in a box and close the top to protect them from dust.
Your beautiful Coconut & Cocoa Butter Soap is ready for use after 3 weeks of curing.
As a reminder, the longer you wait, the firmer and milder it will get.
Enjoy your soap and Happy Soaping!

Leave a Comment